Material Effect: River Shader
This River Shader was created with dynamic flow maps and the mesh distance fields enabled. This allows designers to place objects in the river and dynamically changes the river to react to the objects.
Vertex Shader: Grunge Brush
This is a Vertex Shader I made inspired by the idea of giving the artist the ability to add as much or as
little dirt, blood, or other grunge textures to their meshes as they wanted in the UE4 engine. This is currently a work in progress, where I'll be adding understandable parameters for the user to easily plug in their own textures or choose to use UE4's noise node.
Material and Particle Effect: Smoke
This smoke effect was made using UE4's particle systems and flow maps plugged into the materials.
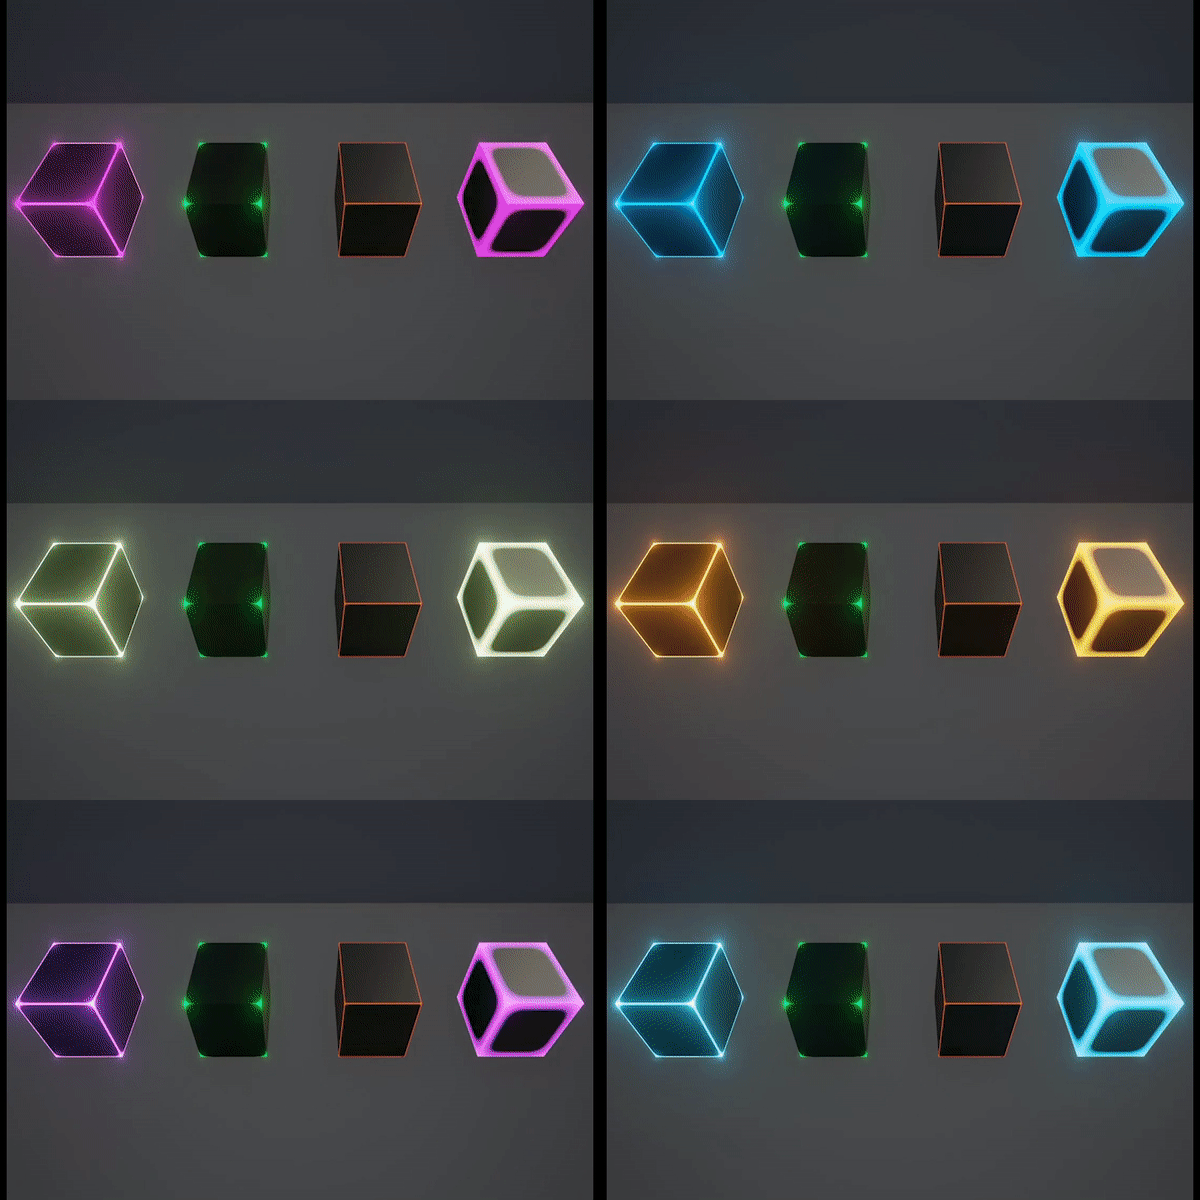
Material Effect: Techno Cube


This is a material effect that can either go through colors based on time, or remain one color of the users choice. The parameters available for the user are Edge Sharpness, Edge Subtraction, Glow Intensity, and Color
Edge Sharpness:
-Allows the user to push the lines as close to the edges of the cube as they can, as well as push the edges inwards, creating a solid color
Edge Subtraction:
-Allows the user to subtract the edges to the corners or bevel them inwards to form an inner circle
Glow Intensity:
-Allows the user to change the intensity of the emissive, as well as invert it
Color:
-This allows the user to change the color of the cube that isn't set to change color based on time
Post Process Material: Outline & Color Overlay

The top image is the scene without the Post Process
Material


This is a Post Process Material that adds outlines around any object
within its Post Process Volume.
The Parameters editable by the user for this material include: Line Detection, Line Width, Line Color, Color Overlay, and Color Opacity
Line Detection:
-Line Detection is attached to a scalar value that determines the detection of the out line depend. By changing this value the user will see the outline change to go completely around the object and through some inner contours, or see the line tapper off before connecting all the way around the object
Line Width:
-Line Width allows the user to change the thickness of the line, creating either bulky lines or thin lines
Line Color:
-Line Color allows the user to change the color of the outline. Note that even with color overlay on with full opaqueness that the outline will still show (Third Image).
Color Overlay:
-Color Overlay allows the user to add a color of their choice overlay
to the entire scene within the Post Process Volume
Color Opacity:
-Color Opacity allows the user to change the intensity of the color, giving either a subtle color overlay, or a bright and demanding one
Post Process Material: Black and White Wireframes

The top image is the scene without the Post Process
Material


This is a Post Process Material that adds outlines around any object as well as have a wire-frame like effect on the objects within its Post Process Volume.
The Parameters editable by the user for this material include: Inverse, Lighten, Line Detection, and Line Width
Inverse:
-Inverse allows the user to invert the black and white colors
Lighten:
-Lighten gives the user the ability to lighten the scene from dark grays to white
Line Detection:
-Line Detection is attached to a scalar value that determines the detection of the out line depend. By changing this value the user will see the outline change to go completely around the object and through some inner contours to the point where the line runs along the edges of the faces of the model.
Line Width:
-Line Width allows the user to change the thickness of the line, creating either bulky lines or thin lines. The user can change the line thickness to the point where the model has a solid black or white color with an outline
Post Process Material: Visor View


The top image is the scene without the Post Process
Material


This left bottom image is the added vignette
This is a Post Process Material that creates scan lines similar to older TV
screens. It's meant to convey the feeling of looking through a visor of camera.
After my original application of the Post Process I decided to make a vignette option to frame the scene. The bottom left image is withy the added vignette
The Parameters editable by the user for this material include:
SceneOverlayColor, VignetteOpacity, VignetteSize, and VisorToClearScene.
SceneOverlayColor:
-SceneOverlayColor allows you to change the color of the scene.
VignetteOpacity:
-VignetteOpacity allows you to change the opacity of the Vignette
VignetteSize:
-VignetteSize allows you to change the radius of the Vignette.
VisorToClearScene:
-VisorToClearScene allows you to transition between the post process effect and the normal scene.

Post Process Material: Custom Depth


The top image is the scene without the Post Process
Material
This is a Post Process Material that uses custom depth to allow objects
to appear a solid color in the scene, as well as allow them to be seen through any mesh in the scene.
I am using my Custom Depth Post Process Material with my Visor View
Post Process Material so I show what they would look like combined in the video above, as well as in the image to the bottom left.
The Parameters editable by the user for this material include: SightColor, SightAlpha, and SuperstarToClearScene.


This left bottom image is the combination of the Custom Depth and the Visor View
SightColor:
-SightColor allows you to change the color of the objects that have the custom depth applied.
SightAlpha:
-SightAlpha allows you to change the opacity of the SightColor
SuperstarToClearScene:
-SuperstarToClearScene allows you to transition between the post process effect and the normal scene.

Material Function: Dissolve Effect


This is a Material Function that I created to show the player when a unit becomes out of play. This Material Function can easily be applied to any material.
This material function handles the dissolve with if nodes and a noise texture. The scalar parameters plug into the A statement of the if nodes and changing them from 0-1 where 0 doesn't render the noise and going to 1 activates the dissolve.
The Parameters editable by the user for this material include: Dissolve, Borderline, BorderlineColor, and EmissiveStrength.
Dissolve:
-Dissolve allows you to dissolve the material from 0-1.
Borderline:
-Borderline allows you to add a colored border to the edges of the dissolve and allows you to change the thickness of that border
BorderlineColor:
-BorderlineColor allows you to change the color of the Borderline.
EmissiveStrength:
-EmissiveStrength allows you to change the glow strength of the Borderline.
Material Effect: Status Bars

This is a Material Effect I created that animates the status bar UI based on a scalar parameter.
The Parameters editable by the user for this material include: Health/Special, and EmptyToFull.
Health/Special:
-Health/Special allows you to switch between the Health Status Bar and the Special Status Bar.
EmptyToFull:
-EmptyToFull allows you to change the bar from empty to full from the range 1-0
Spline: Panning Track

This is a Material Effect I created that shows a visually noticeable path to the player, which has many parameters to create different versions of the path.
This effect is placed on a spline to allow the designer to move the path along specified points.
The Parameters editable by the user for this material include: Color, Amount, Emissive Strength, Lines/Dots, and Speed.
Color:
-Color allows you to change the color of the path.
Amount:
-Amount allows you to change the amount of the dots or lines present on the spline as a whole and allows you to change their size based on their amount.
Emissive Strength:
-Emissive Strength allows you to change the glow amount of the color of the path.
Lines/Dots:
-Lines/Dots allows you to change the path to either lines, dots, or anything inbetween.
Speed:
-Speed allows you to change the speed of the path.
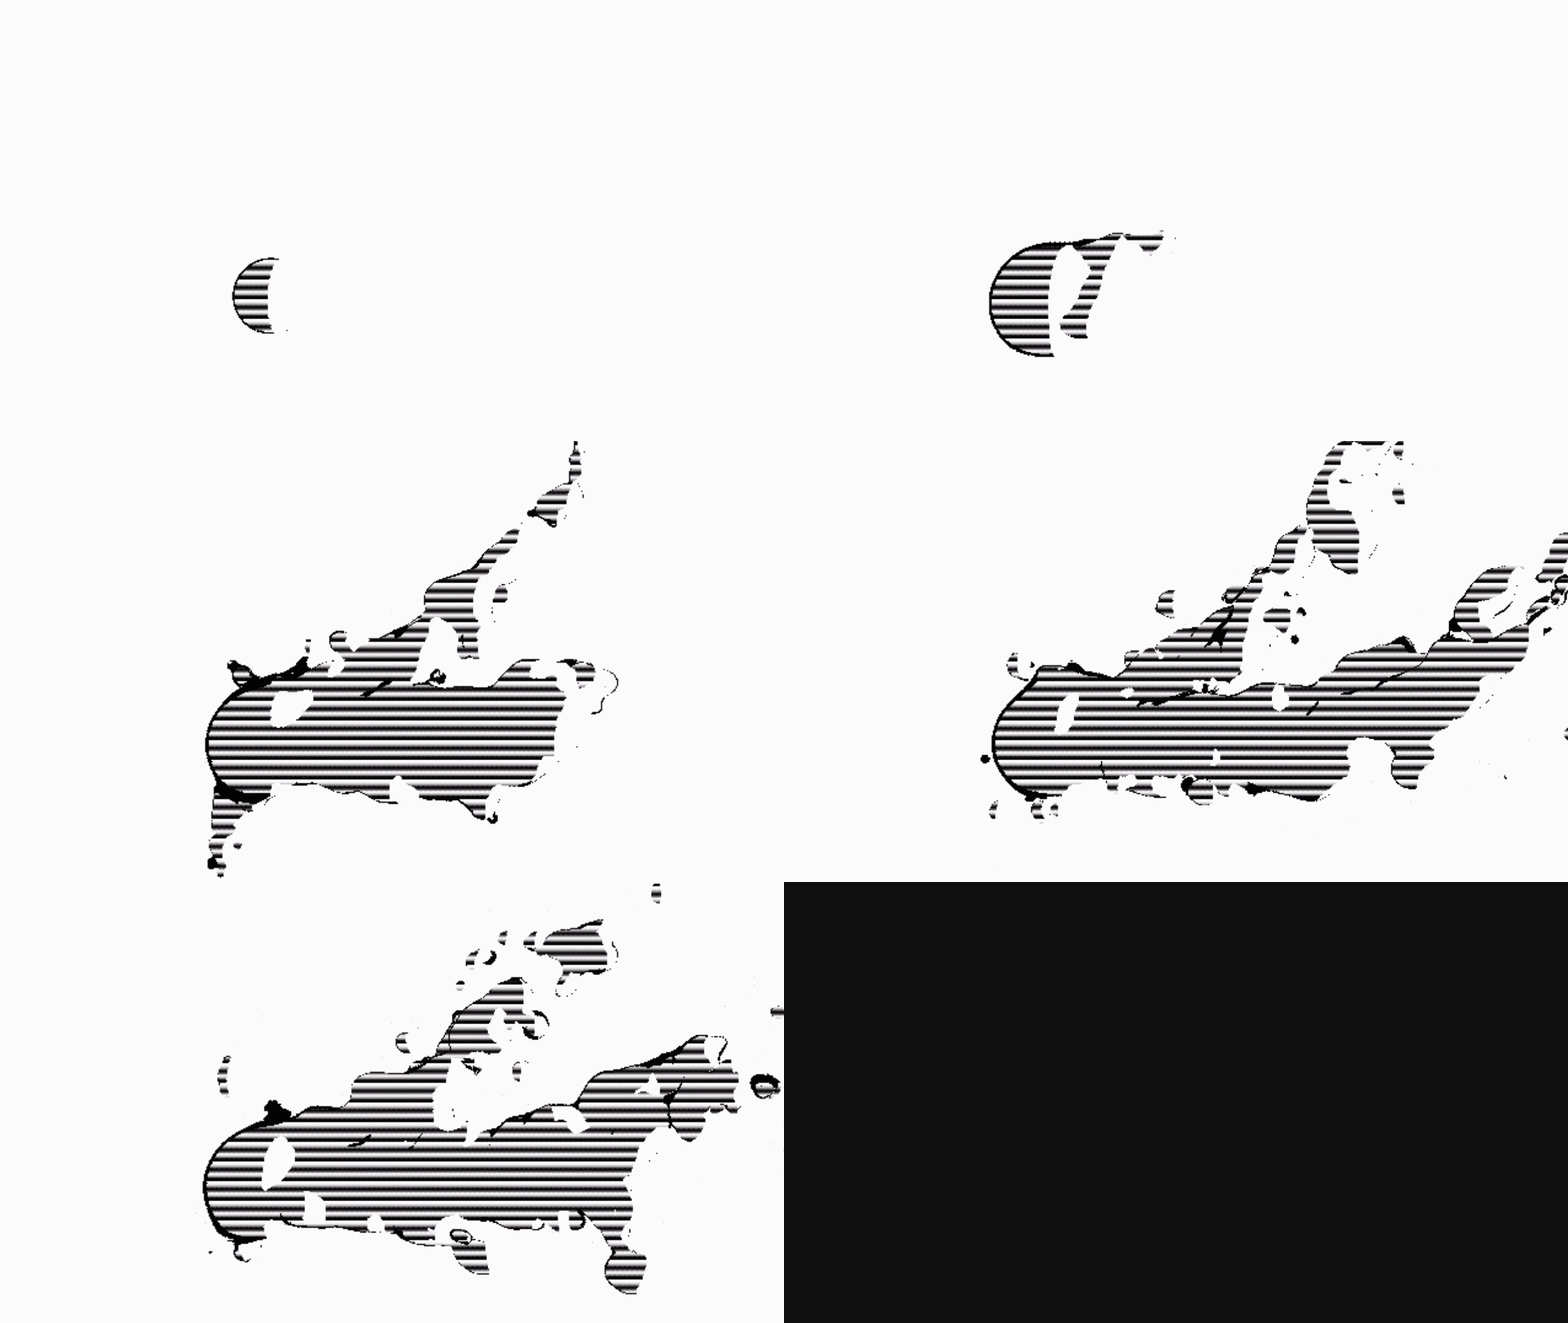
Maya Blobbies: Stylized Smoke


This is a material Effect I created inside of Maya using the hypergrapgh to tell the program how to render light and shadow on
objects with the assigned material.
I attached this cross hatch shader to blobbies that I manipulated with multiple fields/solvers.
After bath rendering the effect, I brought the image sequence into nuke and matched the style to a background image I created in photoshop with ColorCorrect and EdgeDetect.

Maya Cross Hatch Tutorial
This Maya Cross Hatch Tutorial is from an older version of Maya.
Houdinin: Python Vector Calculator


This is a Vector Calculator tool I that can do various calculations between vectors created using Python in Houdini.
List of the Calculations the calculator performs:
-Addition
-Subtraction
-Scalar Multiplication
-Multiplication
-Magnitude
-Dot Product
-Cross Product
-Unitize
-Angle
